组件
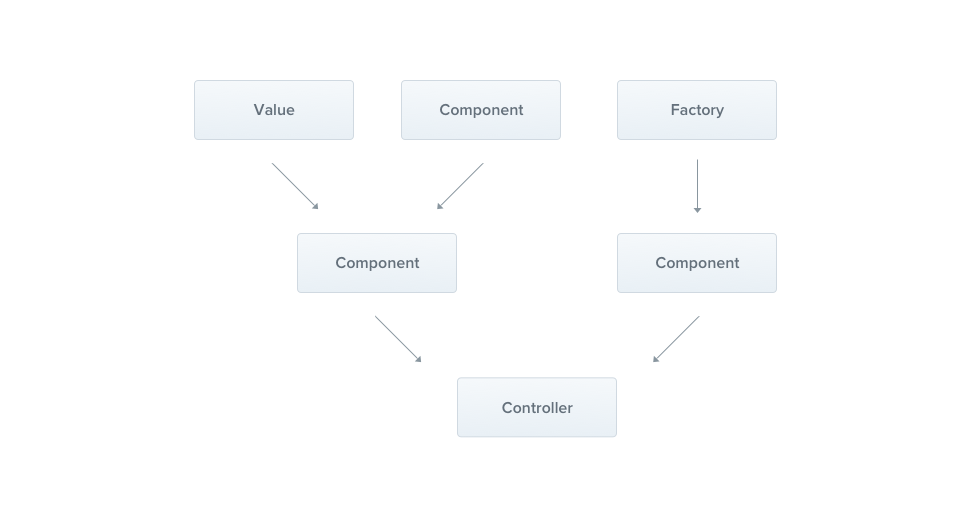
Almost everything is a component - Service, Repository, Provider etc. and they might be injected to controllers or to another component by constructor.
几乎所有的事物都是组件--Service, Repository, Provider等。可以通过构造函数将一个组件注入控制器或者另一个组件中。
In previous section, we built a simple controller - UsersController. This controller has an access to our data (I know, it's a fake data, but it doesn't really matter here). It's not a good solution. Our controllers should only handle HTTP requests and delegate more complex tasks to services. This is why we are going to create UsersService component.
在上一章节,我们构建了一个简单的控制器--UsersController。该控制器可以访问我们的数据(我知道,它所能访问的数据是假数据,但是没关系)。但是这并不是一个好的方案,我们的控制器应该只处理HTTP请求并将更复杂的任务委托给服务。所以我们要创建usersservice组件。
In real world, UsersService should call appropriate method from persistence layer e.g. UsersRepository component. We don't have any kind of database, so again - we will use fake data.
实际上,usersService应该从持久层,例如UsersRepository组件,调用合适的方法。我们没有数据库,所以我们还得继续使用假数据。
import { Component } from '@nestjs/common';
import { HttpException } from '@nestjs/core';

@Component()
export class UsersService {
    private users = [
        { id: 1, name: "John Doe" },
        { id: 2, name: "Alice Caeiro" },
        { id: 3, name: "Who Knows" },
    ];
    getAllUsers() {
        return Promise.resolve(this.users);
    }
    getUser(id: number) {
        const user = this.users.find((user) => user.id === id);
        if (!user) {
            throw new HttpException("User not found", 404);
        }
        return Promise.resolve(user);
    }
    addUser(user) {
        this.users.push(user);
        return Promise.resolve();
    }
}
Nest Component is a simple class, with @Component() annotation. As might be seen in getUser() method we used HttpException. It is a Nest built-in Exception, which takes two parameters - error message (or full object) and status code. It is a good practice to create domain exceptions, which should extend HttpException (more about it in "Advanced/Error Handling" section).
Nest组件是一个带有@Component()注释的简单的类。
在getUser()中我们使用了HttpException。HttpException是Nest内置异常,该异常包含两个参数--错误消息和状态代码。创建局域异常可以扩展HttpException(详见"Advanced/Error Handling"章节)。
Our service is prepared, let's use it in UsersController from previous article.
我们的服务已经在待命了,让我们在之前创建好的UsersController中使用它。
@Controller('users')
export class UsersController {
    constructor(private usersService: UsersService) {}

    @Get()
    getAllUsers(@Response() res) {
        this.usersService.getAllUsers()
            .then((users) => res.status(HttpStatus.OK).json(users));
    }

    @Get('/:id')
    getUser(@Response() res, @Param('id') id) {
        this.usersService.getUser(+id)
            .then((user) => res.status(HttpStatus.OK).json(user));
    }

    @Post()
    addUser(@Response() res, @Body('user') user) {
        this.usersService.addUser(user)
            .then((msg) => res.status(HttpStatus.CREATED).json(msg));
    }
}
As shown, UsersService will be injected into constructor. It is incredibly easy to manage dependencies with TypeScript, because Nest will recognize your dependencies just by type! So this:constructor(private usersService: UsersService)
通过以上方法可以将UsersController注入到构造函数中。
通过TypeScript管理依赖非常方便,因为Nest会根据type识别依赖。
Is everything what you have to do. There is one important thing to know - you must have emitDecoratorMetadata option set to true in your tsconfig.json.
还有一件非常重要的事情--在tsconfig.json文件中必须将emitDecoratorMetadata选项设置为true。
If you are not TypeScript enthusiast and you work with plain JavaScript, you have to do it in this way:
如果你不是一个TypeScript狂热者,使用纯JavaScript,你得操作以下步骤:
import { Dependencies, Controller, Get, Post, Response, Param, Body, HttpStatus } from '@nestjs/common';

@Controller('users')
@Dependencies(UsersService)
export class UsersController {
    constructor(usersService) {
        this.usersService = usersService;
    }

    @Get()
    getAllUsers(@Response() res) {
        this.usersService.getAllUsers()
            .then((users) => res.status(HttpStatus.OK).json(users));
    }

    @Get('/:id')
    getUser(@Response() res, @Param('id') id) {
        this.usersService.getUser(+id)
            .then((user) => res.status(HttpStatus.OK).json(user));
    }

    @Post()
    addUser(@Response() res, @Body('user') user) {
        this.usersService.addUser(user)
            .then((msg) => res.status(HttpStatus.CREATED).json(msg));
    }
}
Simple, right? In this moment, application will not even start working. Why? Because Nest doesn't know anything about UsersService. This component is not a part of ApplicationModule yet. We have to add it there:
非常简单,对吗? 现在,应用程序还没有开始运行。
import { Module } from '@nestjs/common';
import { UsersController } from './users.controller';
import { UsersService } from './users.service';

@Module({
    controllers: [ UsersController ],
    components: [ UsersService ],
})
export class ApplicationModule {}
That's it! Now, our application will run, but still one of routes doesn't work properly - addUser (POST /users). Why? Because we are trying to extract request body (req.body.user) without body-parser express middleware. As you should already know, it is possible to pass express instance as a second argument of NestFactory.create() method.
完成以上步骤以后,我们的程序就开始运行了,但是仍然有一个路由无法正常运行---addUser (POST /users)。这是为什么呢?这是因为我们在没有使用body-parser express中间件的情况下尝试解析请求体(req.body.user)。你应该已经了解到,我们可以将express实体作为第二个参数传递给NestFactory.create()方法。
Let's install plugin:
那么接下来我们安装插件吧:
$ npm install --save body-parser
Then setup it in our express instance.
import * as express from 'express';
import * as bodyParser from 'body-parser';
import { NestFactory } from '@nestjs/core';
import { ApplicationModule } from './modules/app.module';

const instance = express();
instance.use(bodyParser.json());

const app = NestFactory.create(ApplicationModule, instance);
app.listen(3000, () => console.log('Application is listening on port 3000'));
完!
Async / await
Nest is compatible with async / await feature from ES7, so we can quickly rewrite our UsersController:
Nest兼容ES7async / await功能,所以我们可以快速重写UsersController
@Controller('users')
export class UsersController {
    constructor(private usersService: UsersService) {}

    @Get()
    async getAllUsers(@Response() res) {
        const users = await this.usersService.getAllUsers();
        res.status(HttpStatus.OK).json(users);
    }

    @Get('/:id')
    async getUser(@Response() res, @Param('id') id) {
        const user = await this.usersService.getUser(+id);
        res.status(HttpStatus.OK).json(user);
    }

    @Post()
    async addUser(@Response() res, @Body('user') user) {
        const msg = await this.usersService.getUser(user);
        res.status(HttpStatus.CREATED).json(msg);
    }
}
Looks better right? There you can read more about async / await.
现在看着好多了吧?